Quick Facts
- The Secret: Maintaining a 91 to 92 degree arm angle prevents the joint from locking and keeps the triceps under constant load.
- The Fix: Shifting the lowering point to behind the crown of the head instead of the forehead redirects stress away from the tendons.
- The Grip: Utilizing a neutral hammer grip or an EZ-curl bar significantly reduces wrist strain and medial elbow pressure.
- Rep Range: Focus on higher volume protocols, specifically 10 to 15 reps, to prioritize joint longevity over maximal strength.
- Movement Logic: Keep the humerus stationary to ensure a strict single-lever movement that isolates the Triceps brachii.
- Injury Prevention: Research indicates that technical errors cause 31% of lifting injuries, making form correction the ultimate safety net.
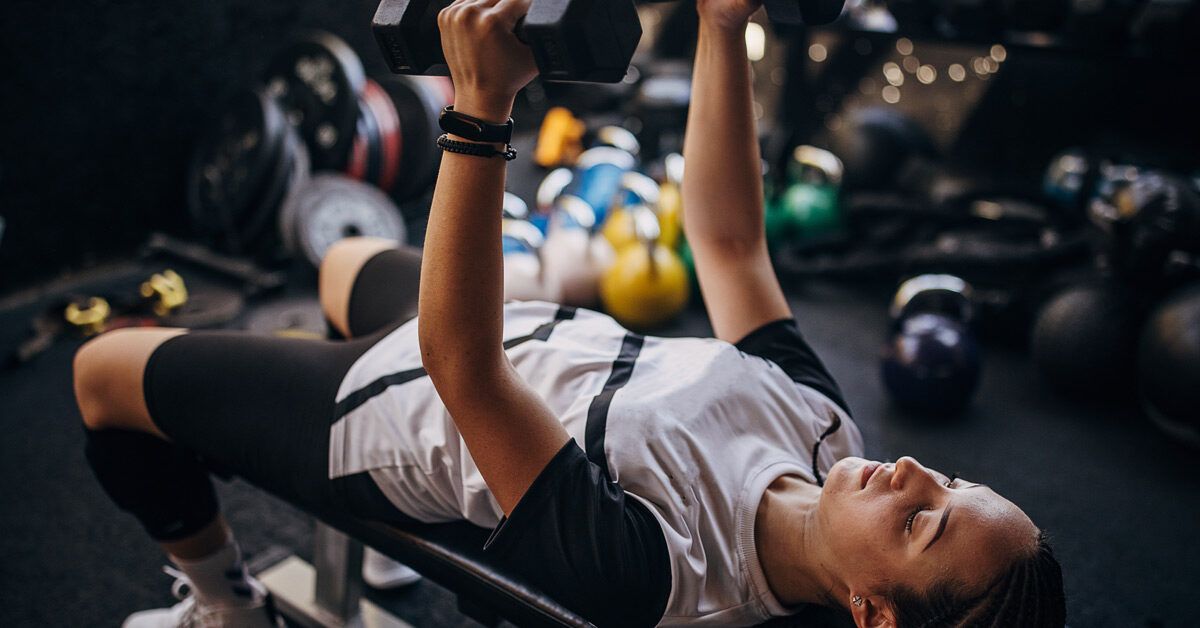
To eliminate elbow pain during skull crushers, use a neutral hammer grip and lower the weight to a point slightly behind the top of your head rather than your forehead. This simple but effective adjustment to your Skull Crusher Form reduces strain on the elbow joint and olecranon while maintaining high mechanical tension on the triceps.
Why Your Elbows Hurt: The Biomechanics of Tricep Extensions
If you have spent any significant time in the gym, you have likely felt that sharp, nagging sting in your elbows during a heavy set of extensions. You are not alone. In fact, studies show that musculoskeletal pain occurring in the elbows affects over 84% of surveyed weightlifters in specific training cohorts. While we often chalk this up to "getting older" or "heavy weights," the reality is usually rooted in lying tricep extension mechanics.
The elbow is a hinge joint, but during a traditional skull crusher, it is subjected to massive amounts of shear force. When you lower a straight bar directly to your forehead with your upper arms perfectly vertical, you create a "joint stacking" effect at the top and extreme tension on the tendons at the bottom. This is exacerbated by technical mistakes. According to sports medicine research, technical errors contribute to approximately 31% of reported injuries, and when we consider that fatigue or overloading is linked to 81% of cases, it becomes clear that most lifters are simply asking their connective tissue to do the work their muscles should be doing.
The primary culprit is often the olecranon—the bony point of the elbow. When the weight moves in a path that forces the elbow to act as a pivot point for a heavy, vertically-descending load, the Triceps brachii tendons take a beating. To fix this, we have to move away from the traditional 90-degree vertical arm position and embrace a more biomechanically sound angle.
The 91-Degree Secret: Constant Tension for Joint Health
The most common mistake in Skull Crusher Form is keeping the upper arms (the humerus) perfectly perpendicular to the floor. When your arms are vertical, the triceps actually get a "mini-break" at the top of the movement because the weight is balanced directly over the joint. This sounds like a good thing, but it actually causes the load to "drop" onto the joint structure the moment you begin the next rep.
Instead, I advocate for the 91-degree rule. By tilting your humerus back toward your head by just a few degrees—roughly 91 to 92 degrees—you ensure that the triceps never lose tension. This slight backward lean means the weight is always pulling against the muscle, preventing the "clunk" or "snap" often felt when starting the eccentric phase from a dead-stop vertical position. This small shift in humerus positioning provides essential joint stability by keeping the muscle engaged as a protective sleeve around the elbow.
Pro-Tip: Think of your upper arm as a pillar that is leaning slightly away from your feet. Lock in this angle before you perform your first repetition and do not allow it to move. If your upper arms start drifting back toward vertical, you are inviting elbow pain back into the session.
From Forehead to Skull Overs: Adjusting the Bar Path
The name "skull crusher" implies the bar should travel toward your forehead. However, for those seeking skull crusher elbow pain solutions, the forehead is the last place the bar should go. When the bar moves toward the face, the elbow joint reaches a point of extreme flexion where the tendon is stretched to its absolute limit under load.
A better approach is what I call "Skull Overs." Instead of lowering the bar to your hairline, aim for the bench behind the top of your head. This accomplishes two things:
- It increases the stretch on the long head of the triceps, which originates at the scapula.
- It changes the angle of the pull, reducing the direct compression on the elbow joint.
By moving the proper lowering point for skull crushers to the area behind your head, you allow the muscle to act as a brake. During the eccentric control phase, the triceps are forced to work harder through a safer range of motion. You are no longer just folding your arm in half; you are creating a functional extension that respects the natural movement of the human body.
The Equipment Hierarchy: Choosing the Right Tools
Not all bars are created equal. If you are struggling with tricep extensions elbow pain, the tool in your hands might be the problem. A straight barbell forces your wrists into a fully supinated or pronated position, which creates a kinetic chain of tension that travels straight into the medial head of the triceps and the elbow.
To maximize joint health, follow this hierarchy of equipment:
| Equipment Type | Joint Impact | Why It Works |
|---|---|---|
| Dumbbells | Lowest | Allows for a neutral hammer grip and independent arm movement. |
| EZ-Curl Bar | Medium | The angled grip reduces wrist torque and takes pressure off the inner elbow. |
| Straight Bar | Highest | Locks the wrists and elbows into a rigid path, often causing flare and pain. |
Using neutral grip skull crushers for wrist comfort is a game-changer for many athletes. Dumbbells allow your wrists to face each other, which is the most natural position for the forearm bones (radius and ulna). This alignment allows the elbow to track more smoothly. If you are a beginner, starting with dumbbell skull crusher form for beginners is the smartest way to build the necessary tendon strength before moving to a fixed bar.
Programming for Longevity: Reps, Sets, and Loading
If your goal is hypertrophy and performance, you don't need to load the bar with maximum weight for sets of five. In fact, that is a recipe for tendonitis prevention failure. For skull crusher variations for sensitive elbows, volume is your friend.
I recommend staying within the 10 to 15 repetition range. This allows you to use a weight that is heavy enough to trigger muscle growth (around 60-70% of your 1RM) but light enough that you can maintain absolute eccentric control. For those who already have sensitive joints, don't be afraid to go even higher—20 to 30 reps with a lighter weight can still provide significant metabolic stress for growth while flushing the joint with blood and nutrients.
Time under tension is the key metric here. Focus on a 3-second descent and a powerful, controlled 1-second ascent. Stop just short of a "hard lockout" to maintain the 91-degree tension. By avoiding the bone-on-bone impact of a forced lockout, you protect the joint while keeping the Medial head of the triceps fully engaged.
Stability: The Role of the Scapula and Core
While the skull crusher is a single-joint exercise, your whole body must be a stable platform. If your torso is wobbling, your elbows will inevitably try to compensate for that lack of balance.
Drive your feet flat into the floor and squeeze your glutes. More importantly, retract your scapula—pull your shoulder blades back and down into the bench. This provides a sturdy base for the humerus. If your shoulders are rounded forward, your elbows will flare out to the sides, which shifts the load to the front deltoids and puts the elbow in a compromised, rotated position.
Keep your core tight to avoid arching your back. An arched back changes the angle of your torso relative to your arms, often accidentally moving you back into that dangerous vertical arm position. By staying "pinned" to the bench, you ensure the triceps are doing 100% of the work.
FAQ
Why do my elbows hurt when doing skull crushers?
Elbow pain usually stems from excessive shear force on the joint, often caused by keeping the upper arms perfectly vertical or using a straight bar that creates wrist and forearm torque. This "joint stacking" places the weight directly onto the tendons and bone rather than the muscle. Additionally, lowering the weight too quickly without eccentric control can cause micro-trauma to the connective tissue over time.
Where should the bar be lowered during a skull crusher?
To minimize joint stress, lower the bar slightly behind the top of your head rather than to your forehead or nose. This adjustment, often called "Skull Overs," shifts the leverage in a way that increases tricep activation while reducing the compression on the elbow joint. It allows for a more natural range of motion that protects the tendons.
Should your elbows flare out during skull crushers?
No, your elbows should remain tucked and parallel to each other throughout the movement. If your elbows flare outward, it typically indicates that the weight is too heavy or that your shoulders are taking over the movement. Flaring puts the elbow in a vulnerable rotated position and can lead to shoulder impingement and medial elbow strain.
Is it better to lower the weight to your forehead or behind your head?
Lowering the weight behind your head is significantly better for joint longevity and muscle recruitment. Lowering to the forehead increases the "crushing" pressure on the elbow hinge at the bottom of the rep. Lowering behind the head maintains a safer angle for the tendons and provides a better stretch for the long head of the triceps, leading to better overall growth with less pain.